Many coffee lovers believe that making creamy, café-style milk foam requires expensive espresso machines or professional barista equipment. While those tools certainly make the process easier, you can still achieve smooth, velvety milk foam at home without investing in costly gadgets.
With the right techniques, the right milk, and a little patience, you can create the perfect topping for cappuccinos, lattes, macchiatos, or even hot chocolate using simple household tools.
In this guide, we will explore the science behind milk frothing, the different methods you can use without a machine, and tips to make your foam last longer.
Understanding Milk Froth
Frothing milk is all about introducing air into the liquid while simultaneously heating it to the right temperature. When milk is aerated, tiny air bubbles form and are stabilized by the proteins in the milk.
The fat in the milk contributes to creaminess and texture, while the sugars provide natural sweetness. The best foam has a microfoam texture—tiny, uniform bubbles that feel silky rather than airy or dry.
Choosing the Right Milk
Not all milk froths equally well. The type of milk you choose will directly affect the quality of your foam:
- Whole Milk: Ideal for a rich, creamy foam. Its higher fat content gives the foam a smooth texture and long-lasting stability.
- 2% or Low-Fat Milk: Creates lighter foam with bigger bubbles, but less creaminess.
- Non-Dairy Alternatives: Some plant-based milks like oat milk or soy milk froth quite well, especially if they are labeled “barista edition.” Almond milk and coconut milk tend to create lighter, less stable foam.
If you are new to frothing, start with fresh, cold whole milk for the best results.
The Ideal Temperature for Frothing
The temperature of the milk is crucial for good foam. If it is too cold, it will not foam properly; too hot, and the proteins will break down, collapsing the foam.
The sweet spot is between 60°C and 70°C (140°F and 158°F). This is hot enough to bring out the natural sweetness of milk without burning it.
Methods for Frothing Milk Without a Machine
You don’t need a steam wand to make great milk foam. Here are some effective methods you can try at home:
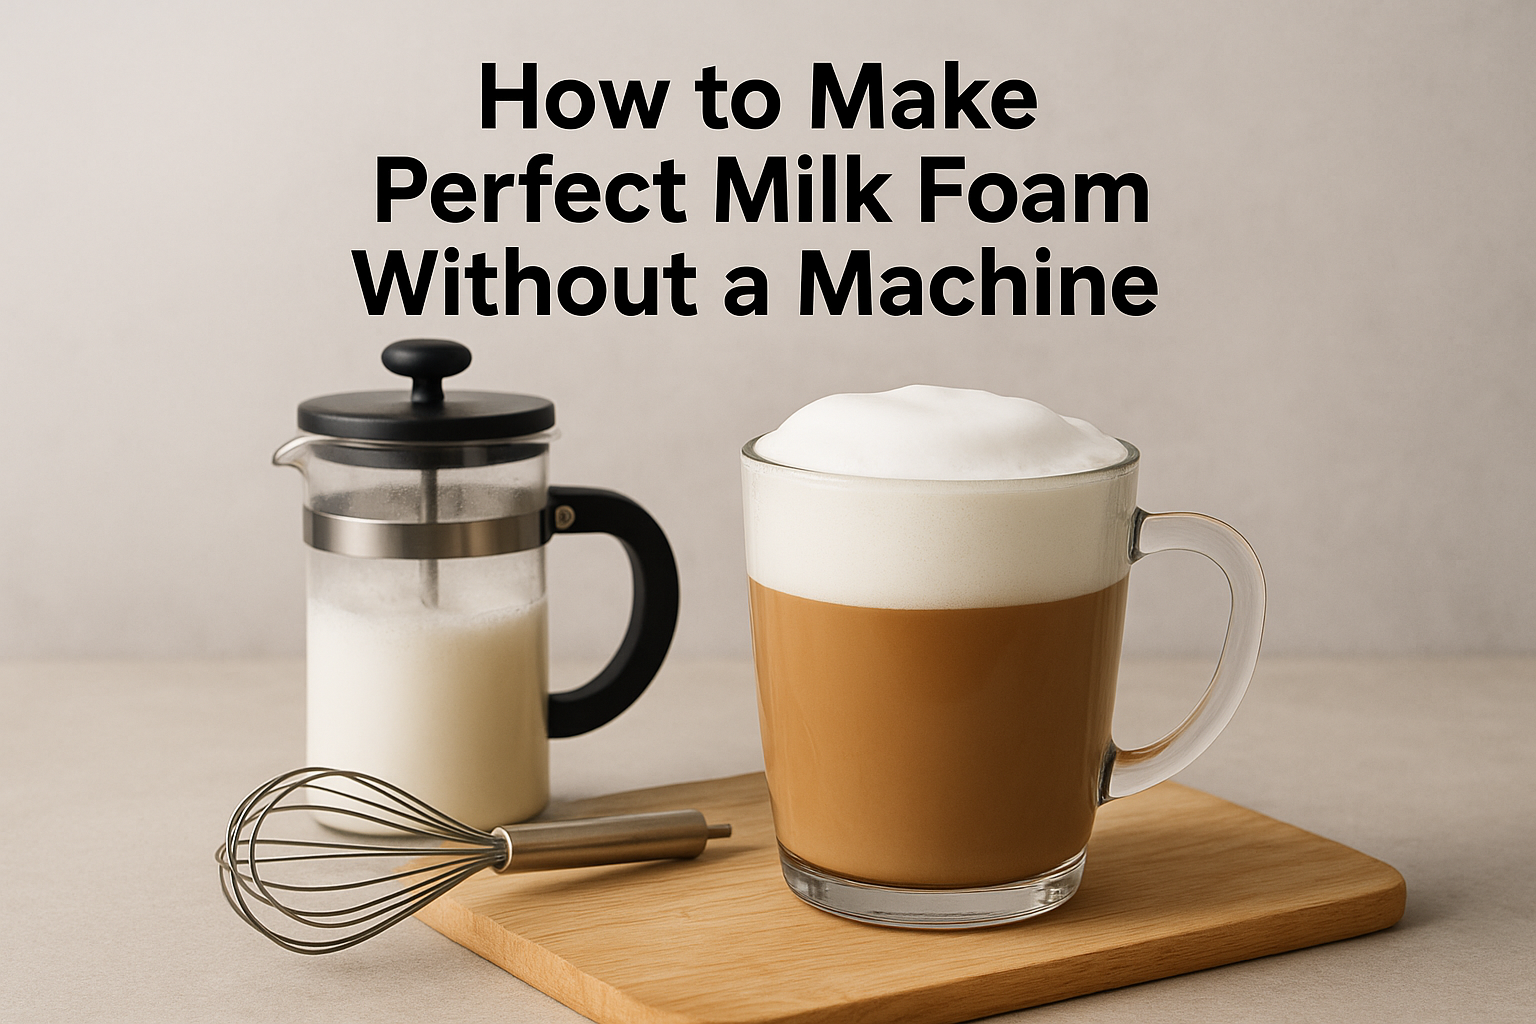
1. Using a French Press
A French press is one of the best manual tools for frothing milk.
- Heat your milk to the ideal temperature.
- Pour it into a clean French press.
- Place the lid on and rapidly pump the plunger up and down for 20–30 seconds.
- The milk should double in volume and develop a silky foam.
2. Using a Hand Whisk
A regular kitchen whisk can also create foam.
- Heat the milk to the right temperature.
- Whisk vigorously in a circular motion for 1–2 minutes.
- Continue until you see a fine foam forming on top.
3. Using a Jar with a Lid
If you have no special tools, a jar works surprisingly well.
- Fill a heatproof jar halfway with warm milk.
- Screw the lid on tightly.
- Shake vigorously for about 30 seconds.
- Remove the lid and microwave the jar for 30 seconds to stabilize the foam.
4. Using an Electric Hand Mixer
If you have a hand mixer, you can create professional-level foam.
- Heat your milk as usual.
- Use the whisk attachment and mix on high speed for 30–40 seconds.
- The foam will be dense and ideal for latte art.
5. Using an Immersion Blender
An immersion blender is another excellent option.
- Heat your milk and pour it into a tall container.
- Blend for about 20 seconds, moving the blender slightly up and down.
- This method produces very fine microfoam.
Tips for Perfect Foam
- Start with cold milk: Cold milk takes in air more efficiently before heating.
- Do not overheat: Overheated milk loses sweetness and foam stability.
- Froth before adding to coffee: Always foam the milk separately and then pour it into your coffee.
- Use fresh milk: Milk close to its expiration date may not foam well.
- Swirl and tap: After frothing, gently swirl the milk to remove large bubbles and create a smooth texture.
Serving Suggestions
Once you have mastered the art of milk froth without a machine, you can use it in many drinks:
- Cappuccino: Equal parts espresso, steamed milk, and foam.
- Latte: One-third espresso, two-thirds steamed milk, topped with a thin layer of foam.
- Macchiato: Espresso topped with a small dollop of foam.
- Mocha: Latte with added chocolate syrup, finished with milk foam.
You can even sprinkle cinnamon, cocoa powder, or nutmeg on top for a decorative and aromatic touch.
Common Mistakes to Avoid
- Overfilling your container: Milk expands as it foams, so always leave space.
- Using milk that is too hot: This causes a burnt taste and ruins foam structure.
- Over-whisking: Too much agitation can make the foam too airy and dry.
- Not serving immediately: Foam is best when fresh—it collapses over time.
Final Thoughts
Making perfect milk foam without a machine is not only possible, but it can also be a fun and rewarding skill to master. By using simple tools like a French press, whisk, or even a jar, you can create café-quality foam in your own kitchen.
With the right milk, proper heating, and good technique, your cappuccinos, lattes, and other milk-based drinks will rival those from your favorite coffee shop.
The key is practice—experiment with different methods, types of milk, and temperatures until you find your perfect foam style.